Edge Finishing Mastery
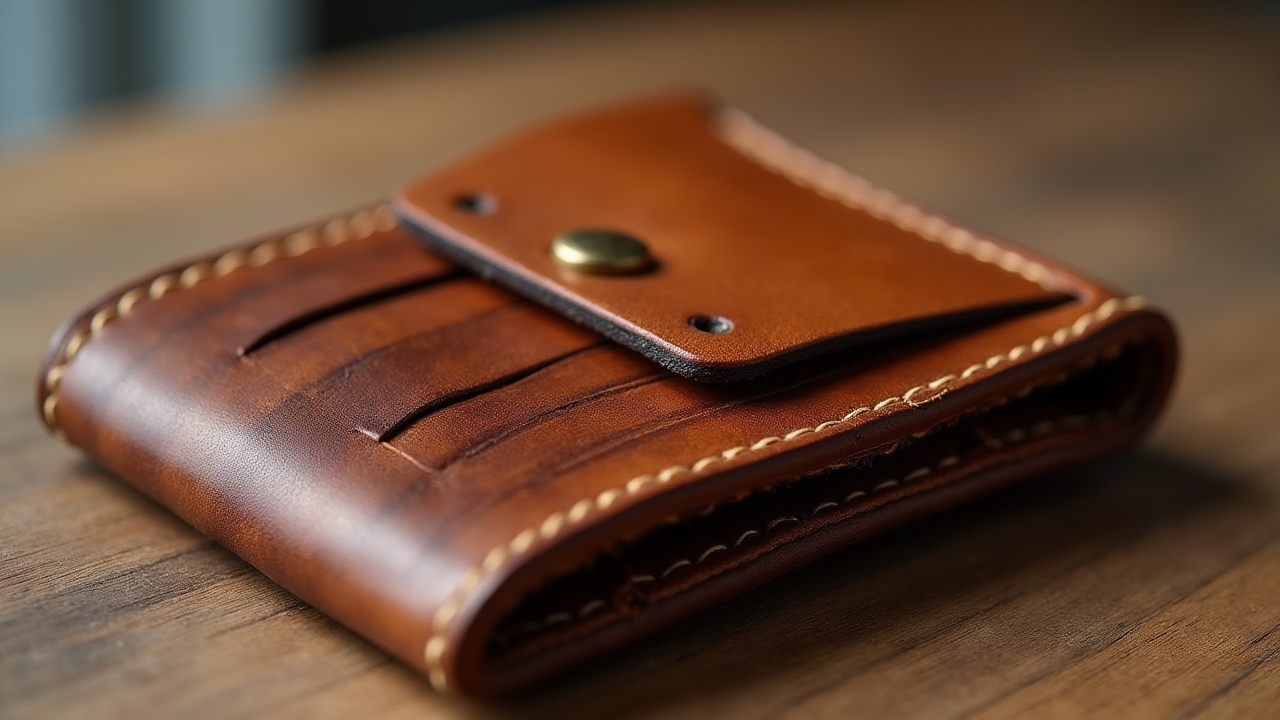
The difference between amateur and professional leatherwork often comes down to edge finishing. This multi-stage process transforms raw cut edges into smooth, durable, water-resistant surfaces that resist fraying and wear.
The Complete Process:
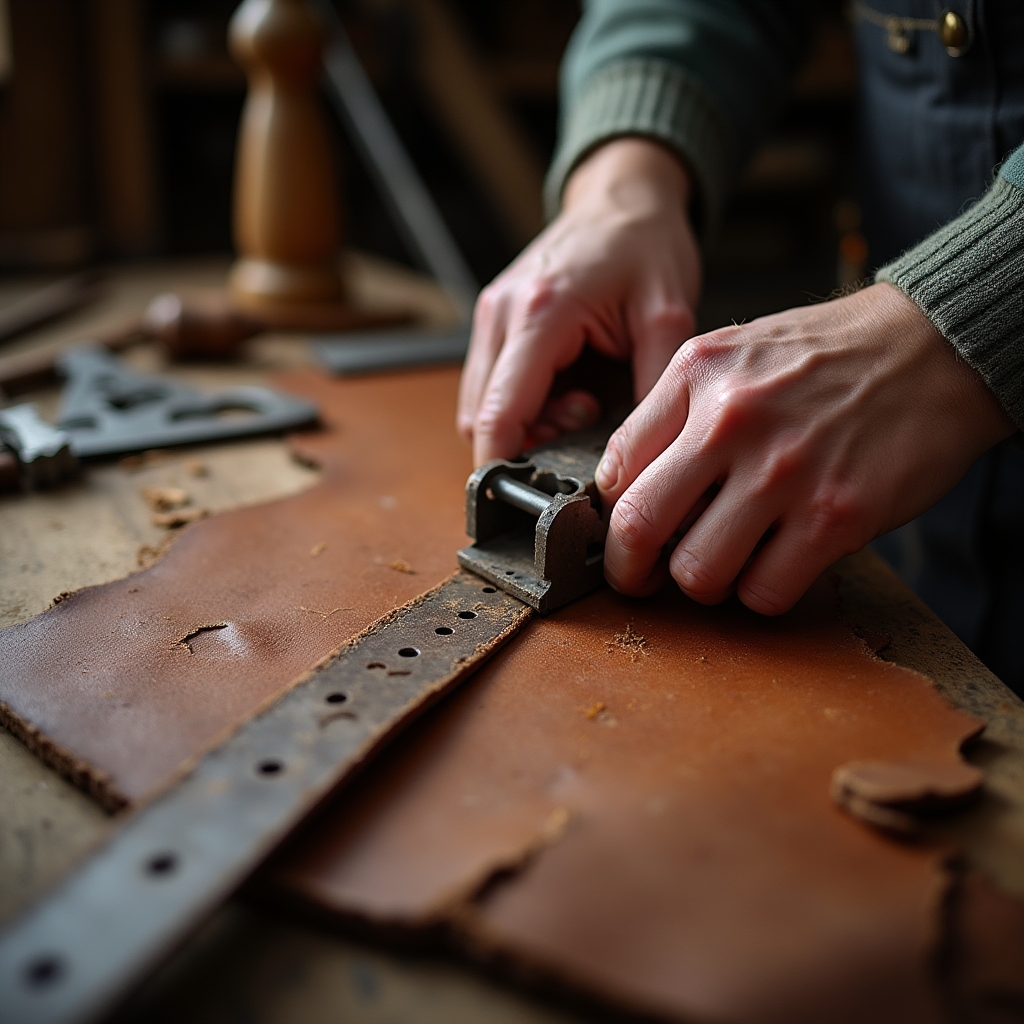
- Edge Beveling: Using a #2 edge beveler (for 2-3mm leather) or #3 (for thicker pieces), remove the sharp corner from both sides of the edge. Hold the tool at a 45° angle and pull rather than push for cleaner results.
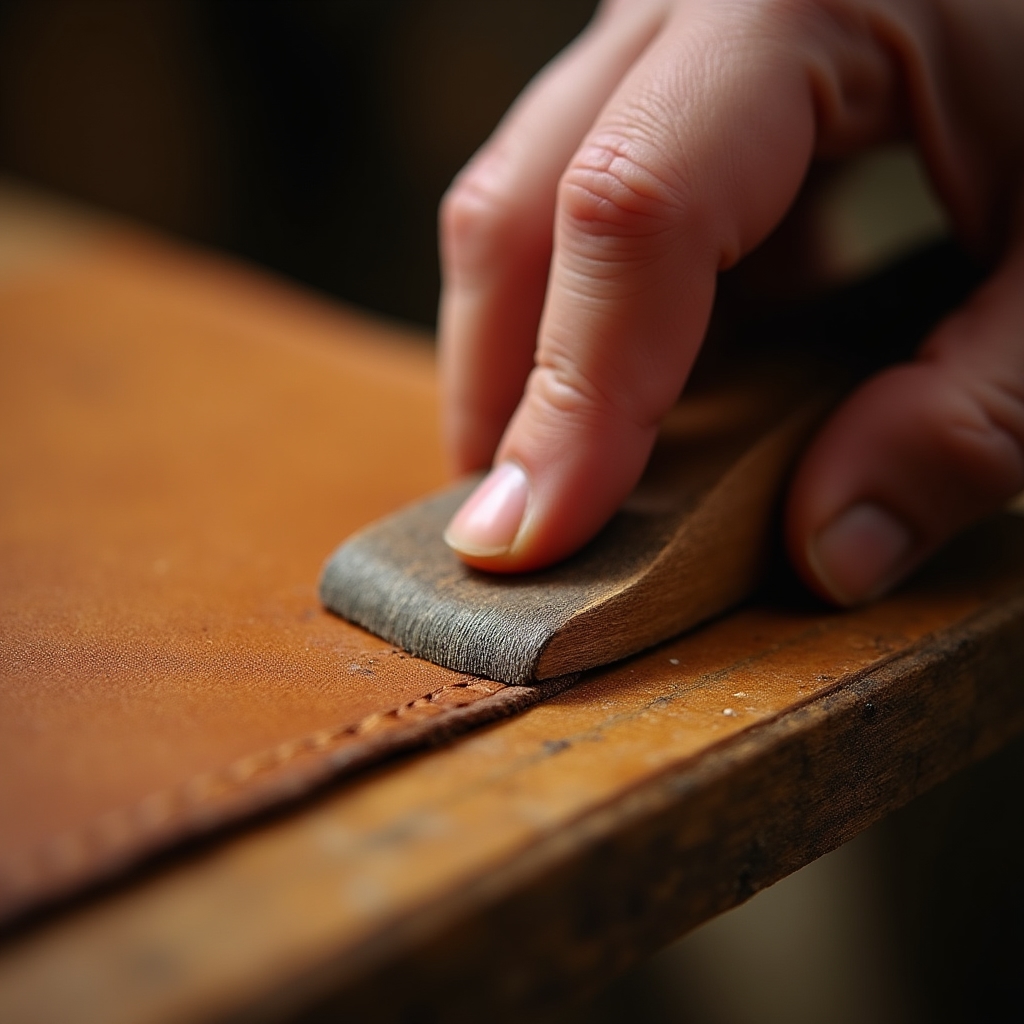
- Progressive Sanding: Starting with 220-grit sandpaper, sand in one direction only to remove tool marks and create a consistent surface. Progress through 400, 600, 800, and 1000 grit, cleaning dust between grades. For premium results, wet-sand the final passes.
- Gum Tragacanth Application: Apply a thin, even coat of gum tragacanth (a natural water-based burnishing agent) with a small piece of cloth. Allow to penetrate for 30-60 seconds until slightly tacky but not dry.
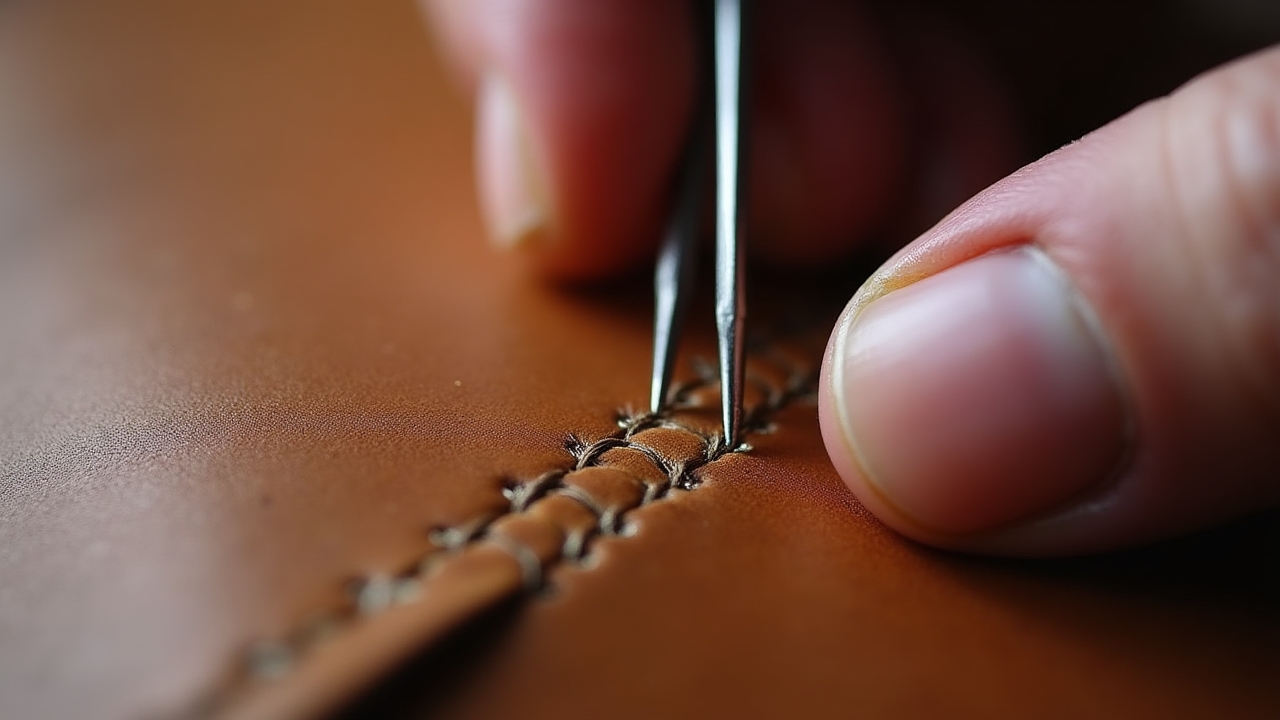
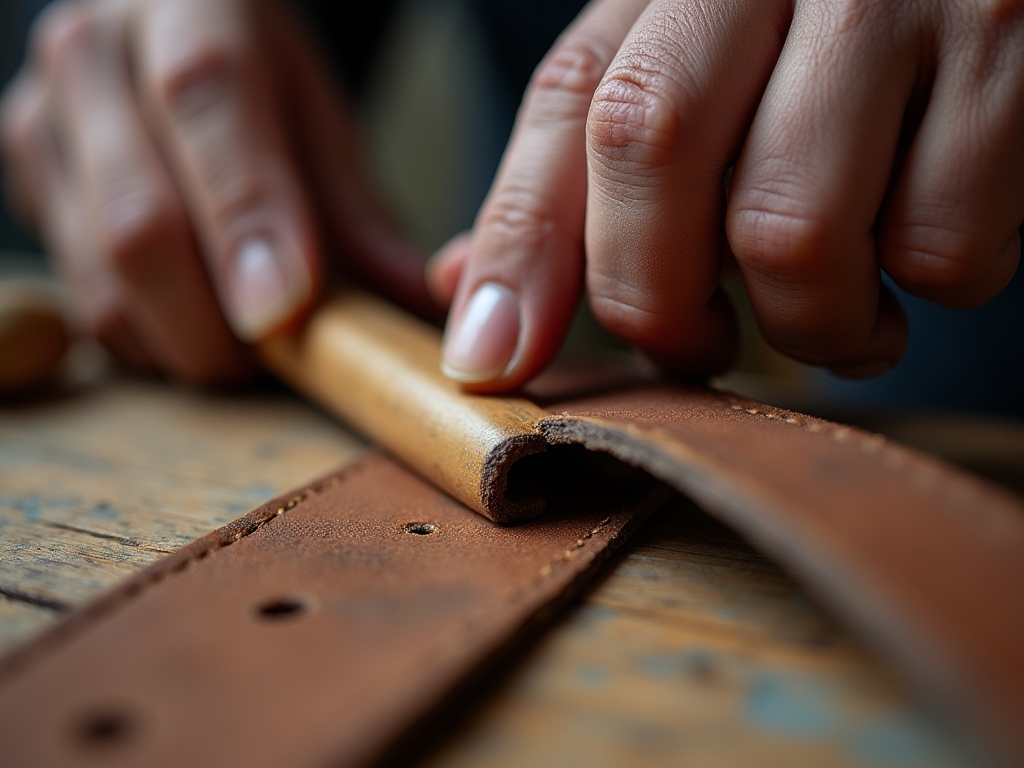
- Initial Burnishing: Using a wooden slicker or canvas cloth, burnish with medium pressure in a back-and-forth motion until you feel heat generating from friction. The edge should begin to darken and take on a slight sheen.
- Beeswax Application: Warm natural beeswax slightly and apply a thin coat to the edge. The residual heat from burnishing will help it penetrate.
- Final Burnishing: With clean canvas or wooden slicker, burnish again with firm pressure until the edge develops a glass-like finish. The wax should be fully incorporated, with no visible residue.
For colored edges, apply water-based edge paint between the sanding and burnishing steps. Multiple thin coats produce better results than a single thick application.